USB PD Stand-alone Sink Controller (USB-C power module)
See the tiny and easy to use fpx module which supercedes fabpide2
Since USB-C’s introduction, I’ve been consistently interested in leveraging it for powering everything under 100 watt (or rather under 90 watt, since it’s hard to come by a full 100 watt USB-C power brick). I finally found time to make the first move and this is the subject of the post.
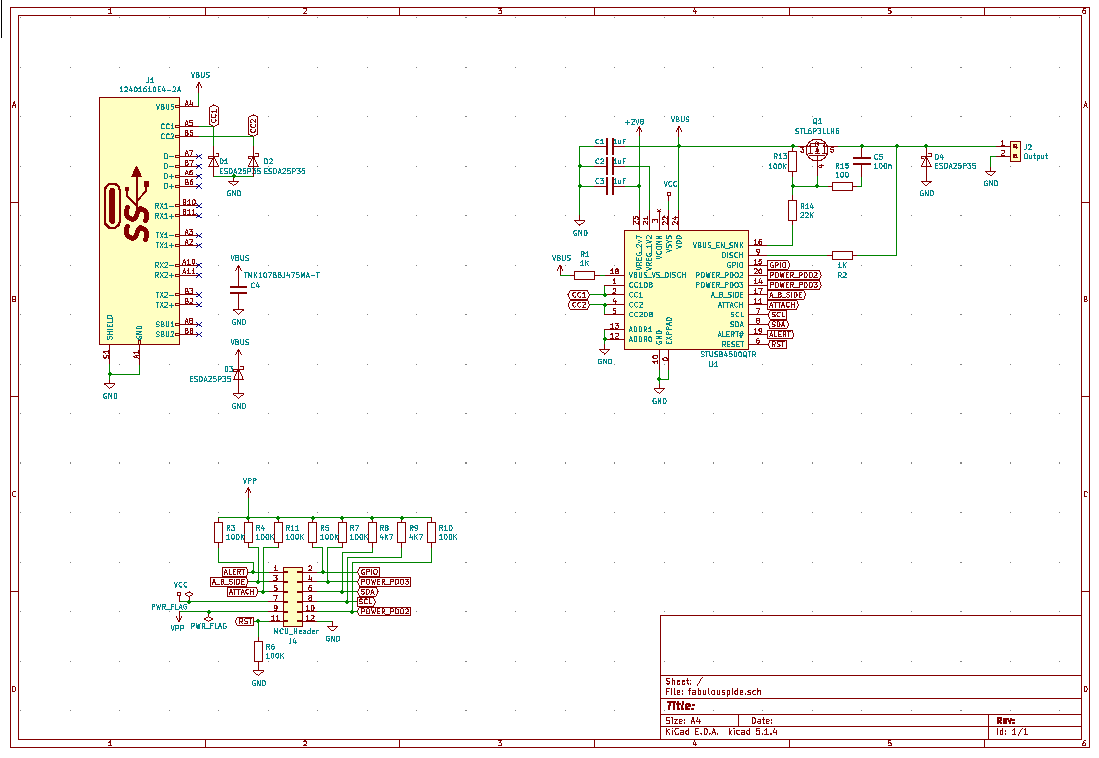
I wanted to keep it simple at the start. Chips like the popular FUSB302 which only provide the wire level handling of the USB-PD protocol, require a lot of software work to make them reliably operational. And that software will need to run on a µC which adds to BOM. So I went to search and found a gem called STUSB4500 from STMicroelectronics. In short, you program some registers to chip’s NVM via I2C once which define what voltage range/current you require and the chip will negotiate those requirements with a charger connected to it.
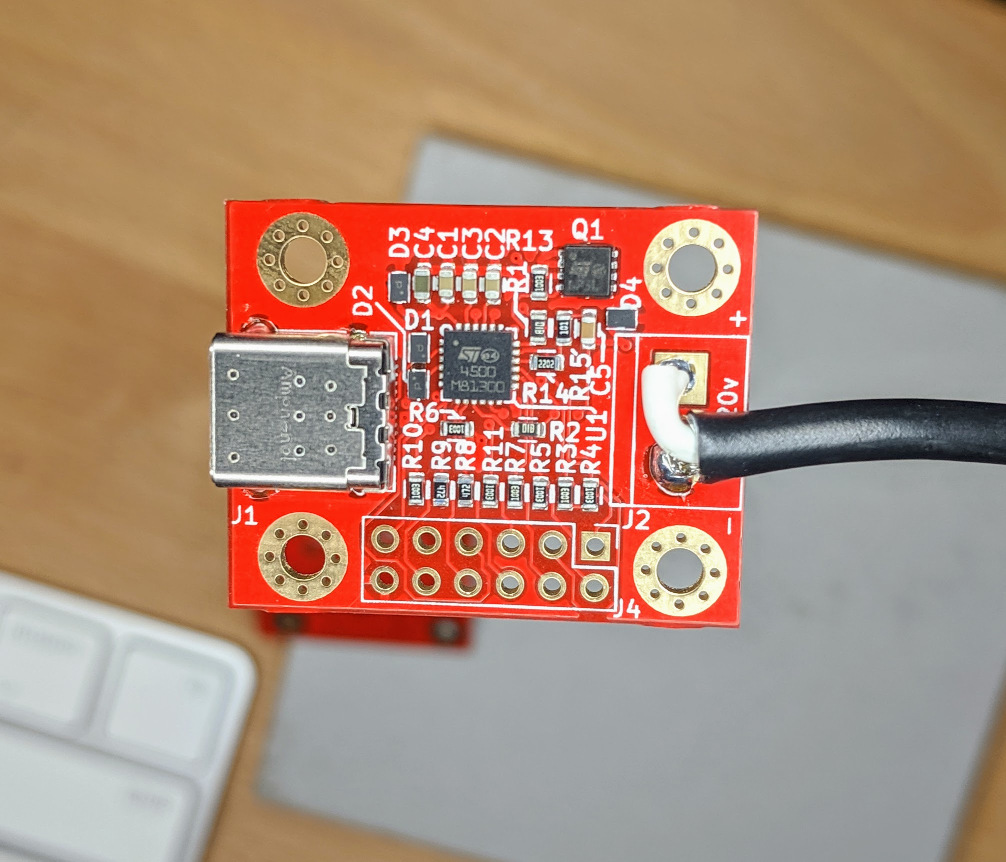
Second version. The black cable goes to the laptop connector. You can buy a pre-assembled & ready to use module from my tindie store.
With the perfect foundation in hand, I set out to design a minimal but practical board that I could use with my laptop (Lenovo ThinkPad X250), futher generalizing it to fit almost any purpose. This was also my first board to be assembled by a fab house. Shout out to PCB.ng for instant quoting and all-in-all, amazing no-fuss ordering experience.
I think STUSB4500 sits nicely between modules out there that require complete software stack and those that can set the voltage with a jumper. You still have fine grained control over how much voltage/current you ask for from the upstream power supply, without the hassle of adding extra controllers with software that may not be robust.
Operational wise, STUSB4500 has memory for 3 Power Delivery Output (PDO) configurations, each specifying an accepted voltage range and maximum current requirement. For instance, one PDO can specify 13.2v±5% and max. current of 2.1A. Once configured, the chip will enumerate the list of available outputs upon cable attachment and will match the requirements against it. If a match is found, it will configure the upstream to provide that power option. Given that this board features a MOSFET on the VBUS controlled by STUSB4500, you can configure it to only pass through the power if the requirements are met (instead of fall back to another PDO or 5v). Combined with the datasheet, the official GUI config tool exposes all the config in a simple to understand form.
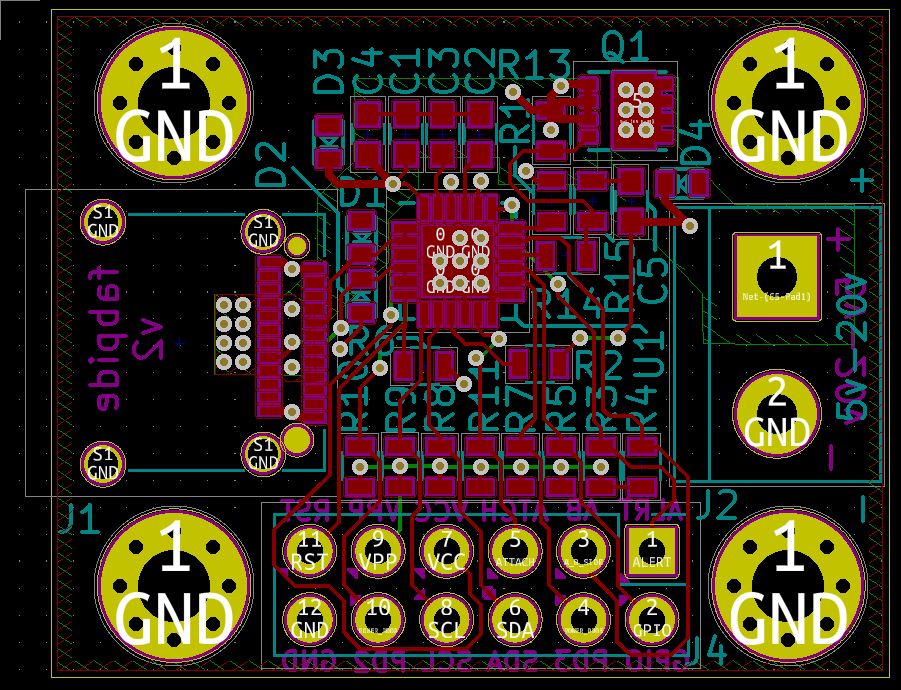
I love squarely and neatly arranged PCBs (Apple comes to mind)
STUSB4500 has some simple but useful connectivity via open-drain IO pins, in addition to the I2C. Two of the 3 PDOs have dedicated pins that are pulled low when that PDO is selected. These can be hooked up to LEDs to indicate which voltage is selected. Additionally, attachment and the side of the attached USB-C cable are indicated with dedicated pins. One GPIO pin can be configured to indicate other conditions as well.
My first use case is of course my laptop. I 3D printed a little case and finally, after 4 years of carrying around an ugly bulky brick, I can use high quality and smaller chargers as well as charge the laptop in the car.
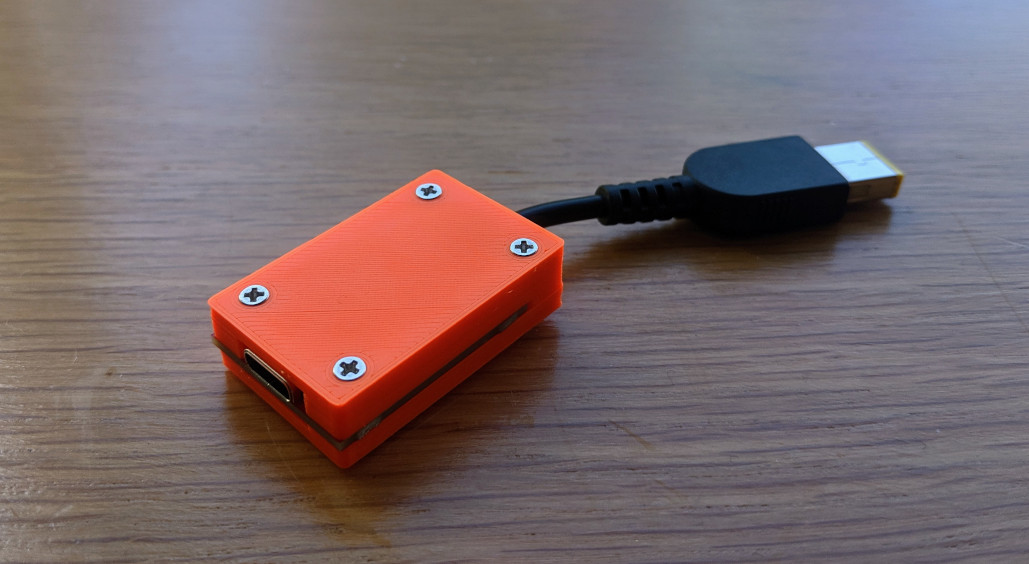
The STL file for the above case is available in the github repo.
The flashing utility, ready-to-manufacture gerber files and other
details are available in the github repo:
https://github.com/oxplot/fabpide2.
There is was also a weird issue with reading registers
above address 0x7F. Switching to software I2C fixed the issue
but the first version of the board doesn’t have this
problem so I’m not sure what is going on! I’m also
selling some of these as kits on Tindie. If
there is further interest, I will order more.
Update
Since writing this post, I have converted four devices in my apartment to use USB-C as power source. The laptop was the first one. I made another similar adapter for my speaker. Two of my devices had enough space inside to fit the module so instead of adapter, I modified them.
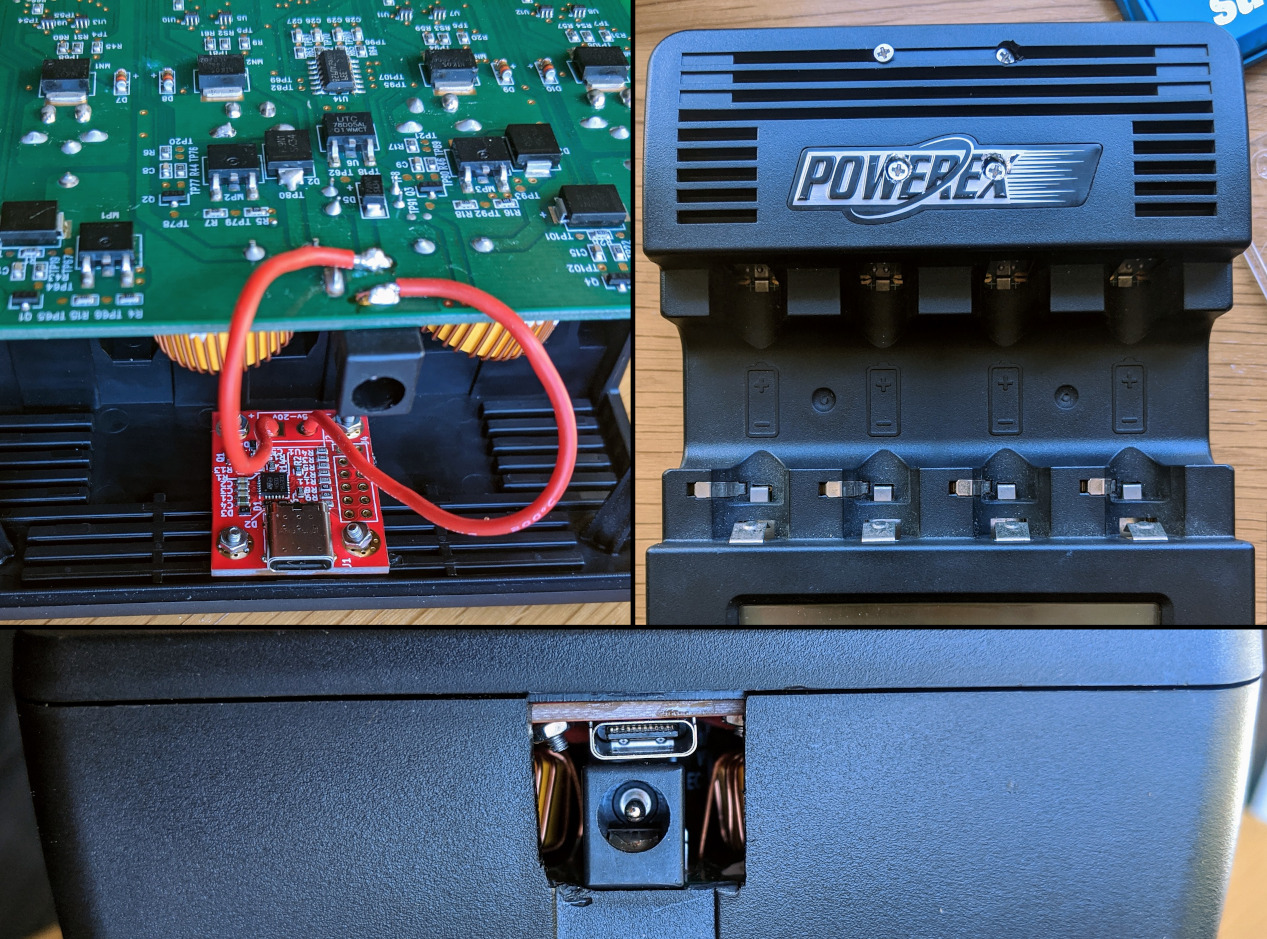
My 10 year old solid built Powerex MH-C9000. Instead of replacing the old jack, I added USB-C to it so it can still use the old charger (which I disposed of :D). Needed 12v at 2A.
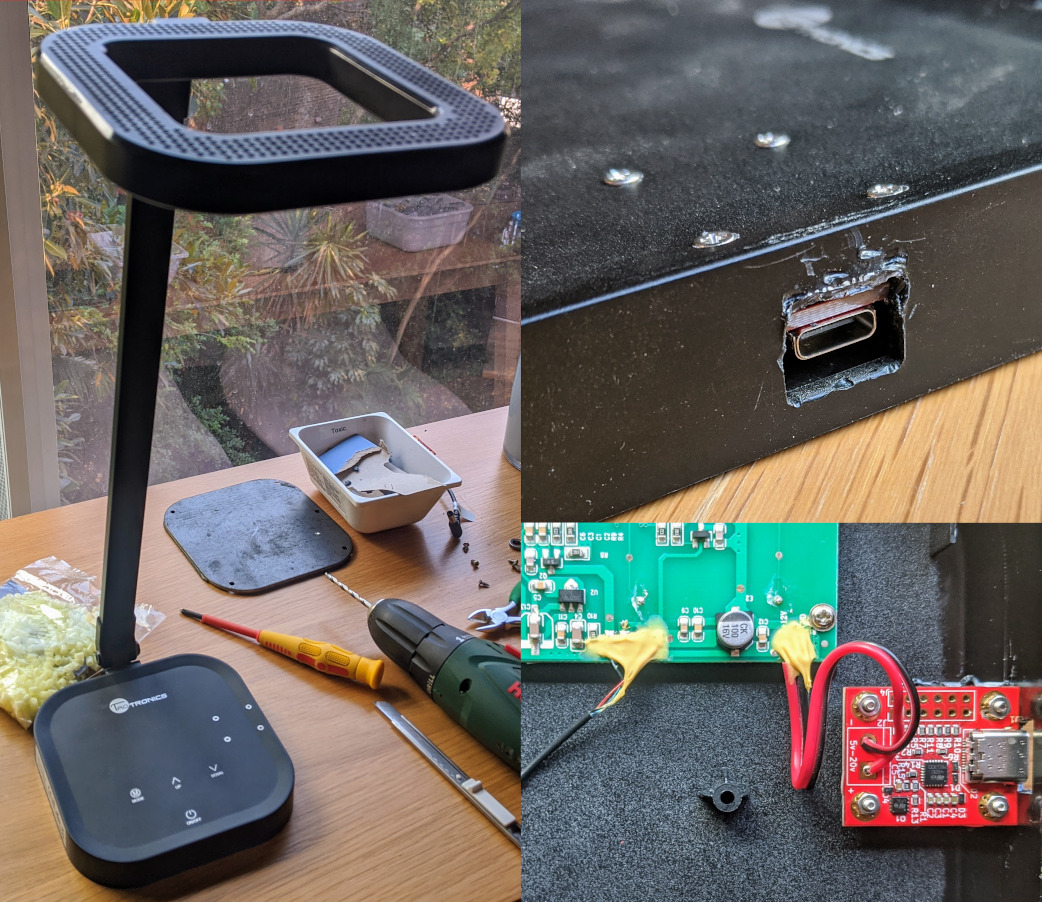
Taotronics desk light — great for lighting objects uniformly when working on them from close distance. Wants 12v at 1A.
Update 2
… and yet more devices converted to using USB-C …
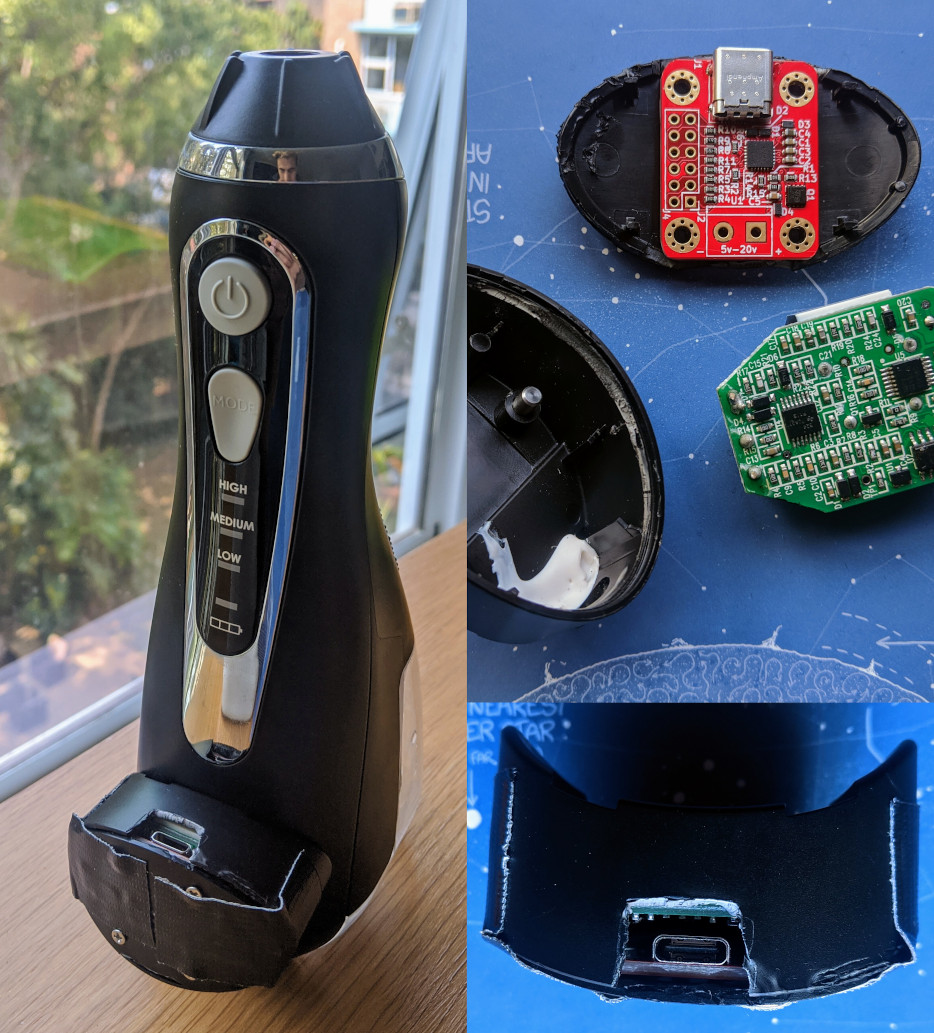
My beloved Waterpik water flosser whose wireless charger has been turned into a duct taped monster! The original charger had 6v output! 5v seems to work fine. Configuring the chip correctly allows charging it with USB-A port as well (given the right cable).
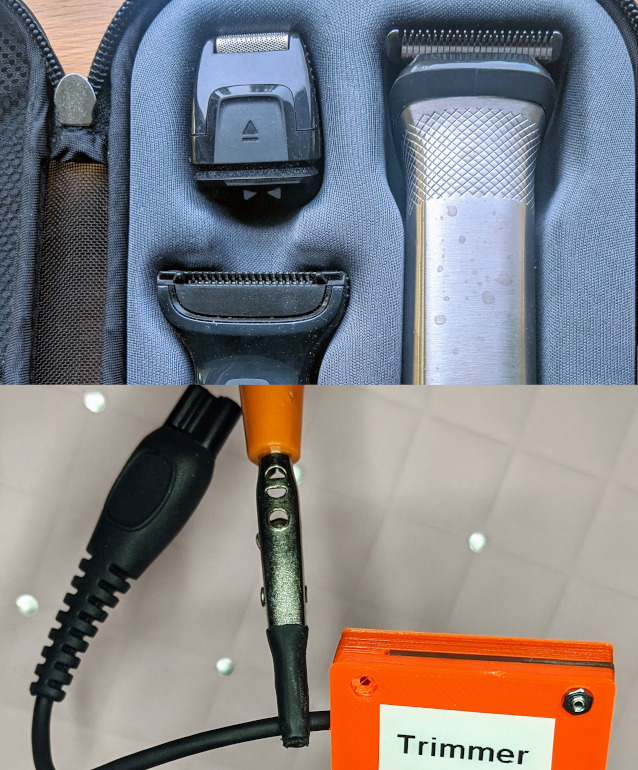
I cut my own hair and this bad boy does a fine job in very small form. Another quality product from Philips. This one wants 15v at 0.3A.
Update 3
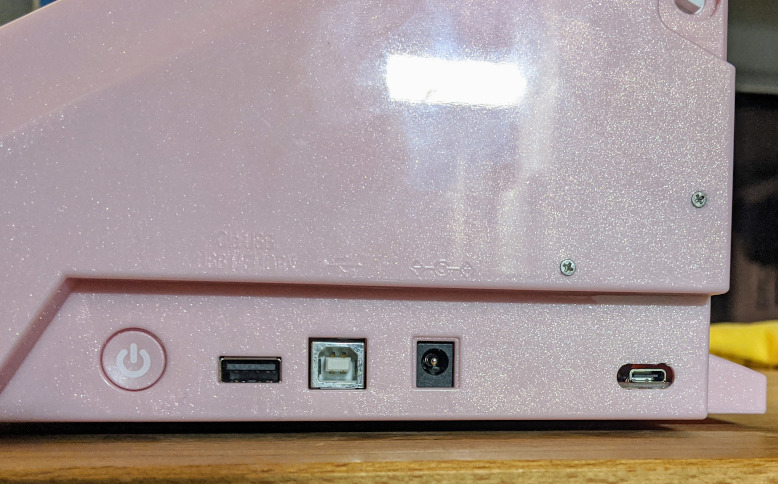
Newest member of the family: Silhouette Cameo desktop cutter now with USB-C power. Yayyyyy!
