I worked on a project where I dived deep into understanding how modern
color management works, including things like color spaces, ICC profiles
and more. As I learnt here and there, I decided to write this post, both
for my future self, and others who may struggle with some of the
concepts as well.
What is color management?
Color management deals with translating between representations of
colors across a variety of devices. Throughout this post, we’ll use
natural language as an analogy to describe various terms and concepts.
Why is color management needed?
Just as with language, one’s notion of the color “orange” can be
different to someone else’s. One person could be referring to the color
of a highlighter, while another can think of the skin of the orange
fruit. Extending this analogy further, not everyone speaks the same
language. Therefore, being able to translate is essential for a shared
understanding.
This post is about a GUI tool called pdfrankenstein that
fills a gap on mostly Linux machines where a powerful and easy to use
PDF annotator does not exist.
Adobe Acrobat® on Windows and Mac allow you to add text, drawings and
signatures to PDF documents. This is useful when filling forms or
marking notes to send back to someone. Such a tool with similar
capabilities and easy of use does not exist on Linux. The reason that’s
often cited is that PDF is a complex format and creating a general
purpose PDF editing tool requires far too much effort than can be
expected from an open source project.
Some of the sincerity slimed up on me
Cards wrote themselves and rifled me
Rigging the blast door to explore didn’t pan out this time
Rushed in, gobbled up and left me bottled up, that monstrous cub
To tell you the truth, I snort mousse
Rust seeps into cereals I produce
Rum may run rampantly down the drain, so let me think
I’ll leave a limb in the pipes to entice a drink
I’ve had my Tesla Model 3 for more than a year now. It has been an
absolute pleasure so far and I would not trade it for anything else at
any price including Tesla’s other offerings (yes, talking about S
Plaid). Model 3 just has the most beautiful exterior of any other car.
OK, let’s stop here because I can go on forever. But not without a photo
of Tin Can:
“Tin Can” is a reference to Major Tom’s
spaceship.
I live in the city and have a fixed broadband and 5G around but being
the tech head that I am, I had to sign up for a Starlink service. I
actually thought of uses, mostly for when traveling. I put down my
deposit in February and received my dish two month ago. I knew when I
signed up that I would need to make it work with my car and while I
waited, I crunched some numbers, with the assurance that should I
determine it won’t be feasible to run Starlink from the car, I can
simply cancel my order.
Model 3 can output 12A continuously on its accessory outlet (aka
cigarette lighter port). With a nominal voltage of 12.7V, that’s 150W of
continuous power, or 140W when taking into account the regulation losses
when stepped up to 56V needed by Starlink. Starlink’s own power supply
has a total maximum output of 180W. That doesn’t look too good until one
digs a bit deeper through forums and learns that Starlink’s user
terminal, called Dishy McFaltface, generates heat either as a result of
higher transmit power, or specicially to deal with cold weather and
snow. That’s where half of that 180W seems to go into. As luck has it, I
live in a warm climate so it’s unlikely that mine would consume as much
power. It’s also worth noting that with each firmware update, the
dish’es consumption seems to drop ever futher down (40W reported by some
users as of late).
TL;DR we need 90W of continuous power to run Dishy and have 140W
available from the car.
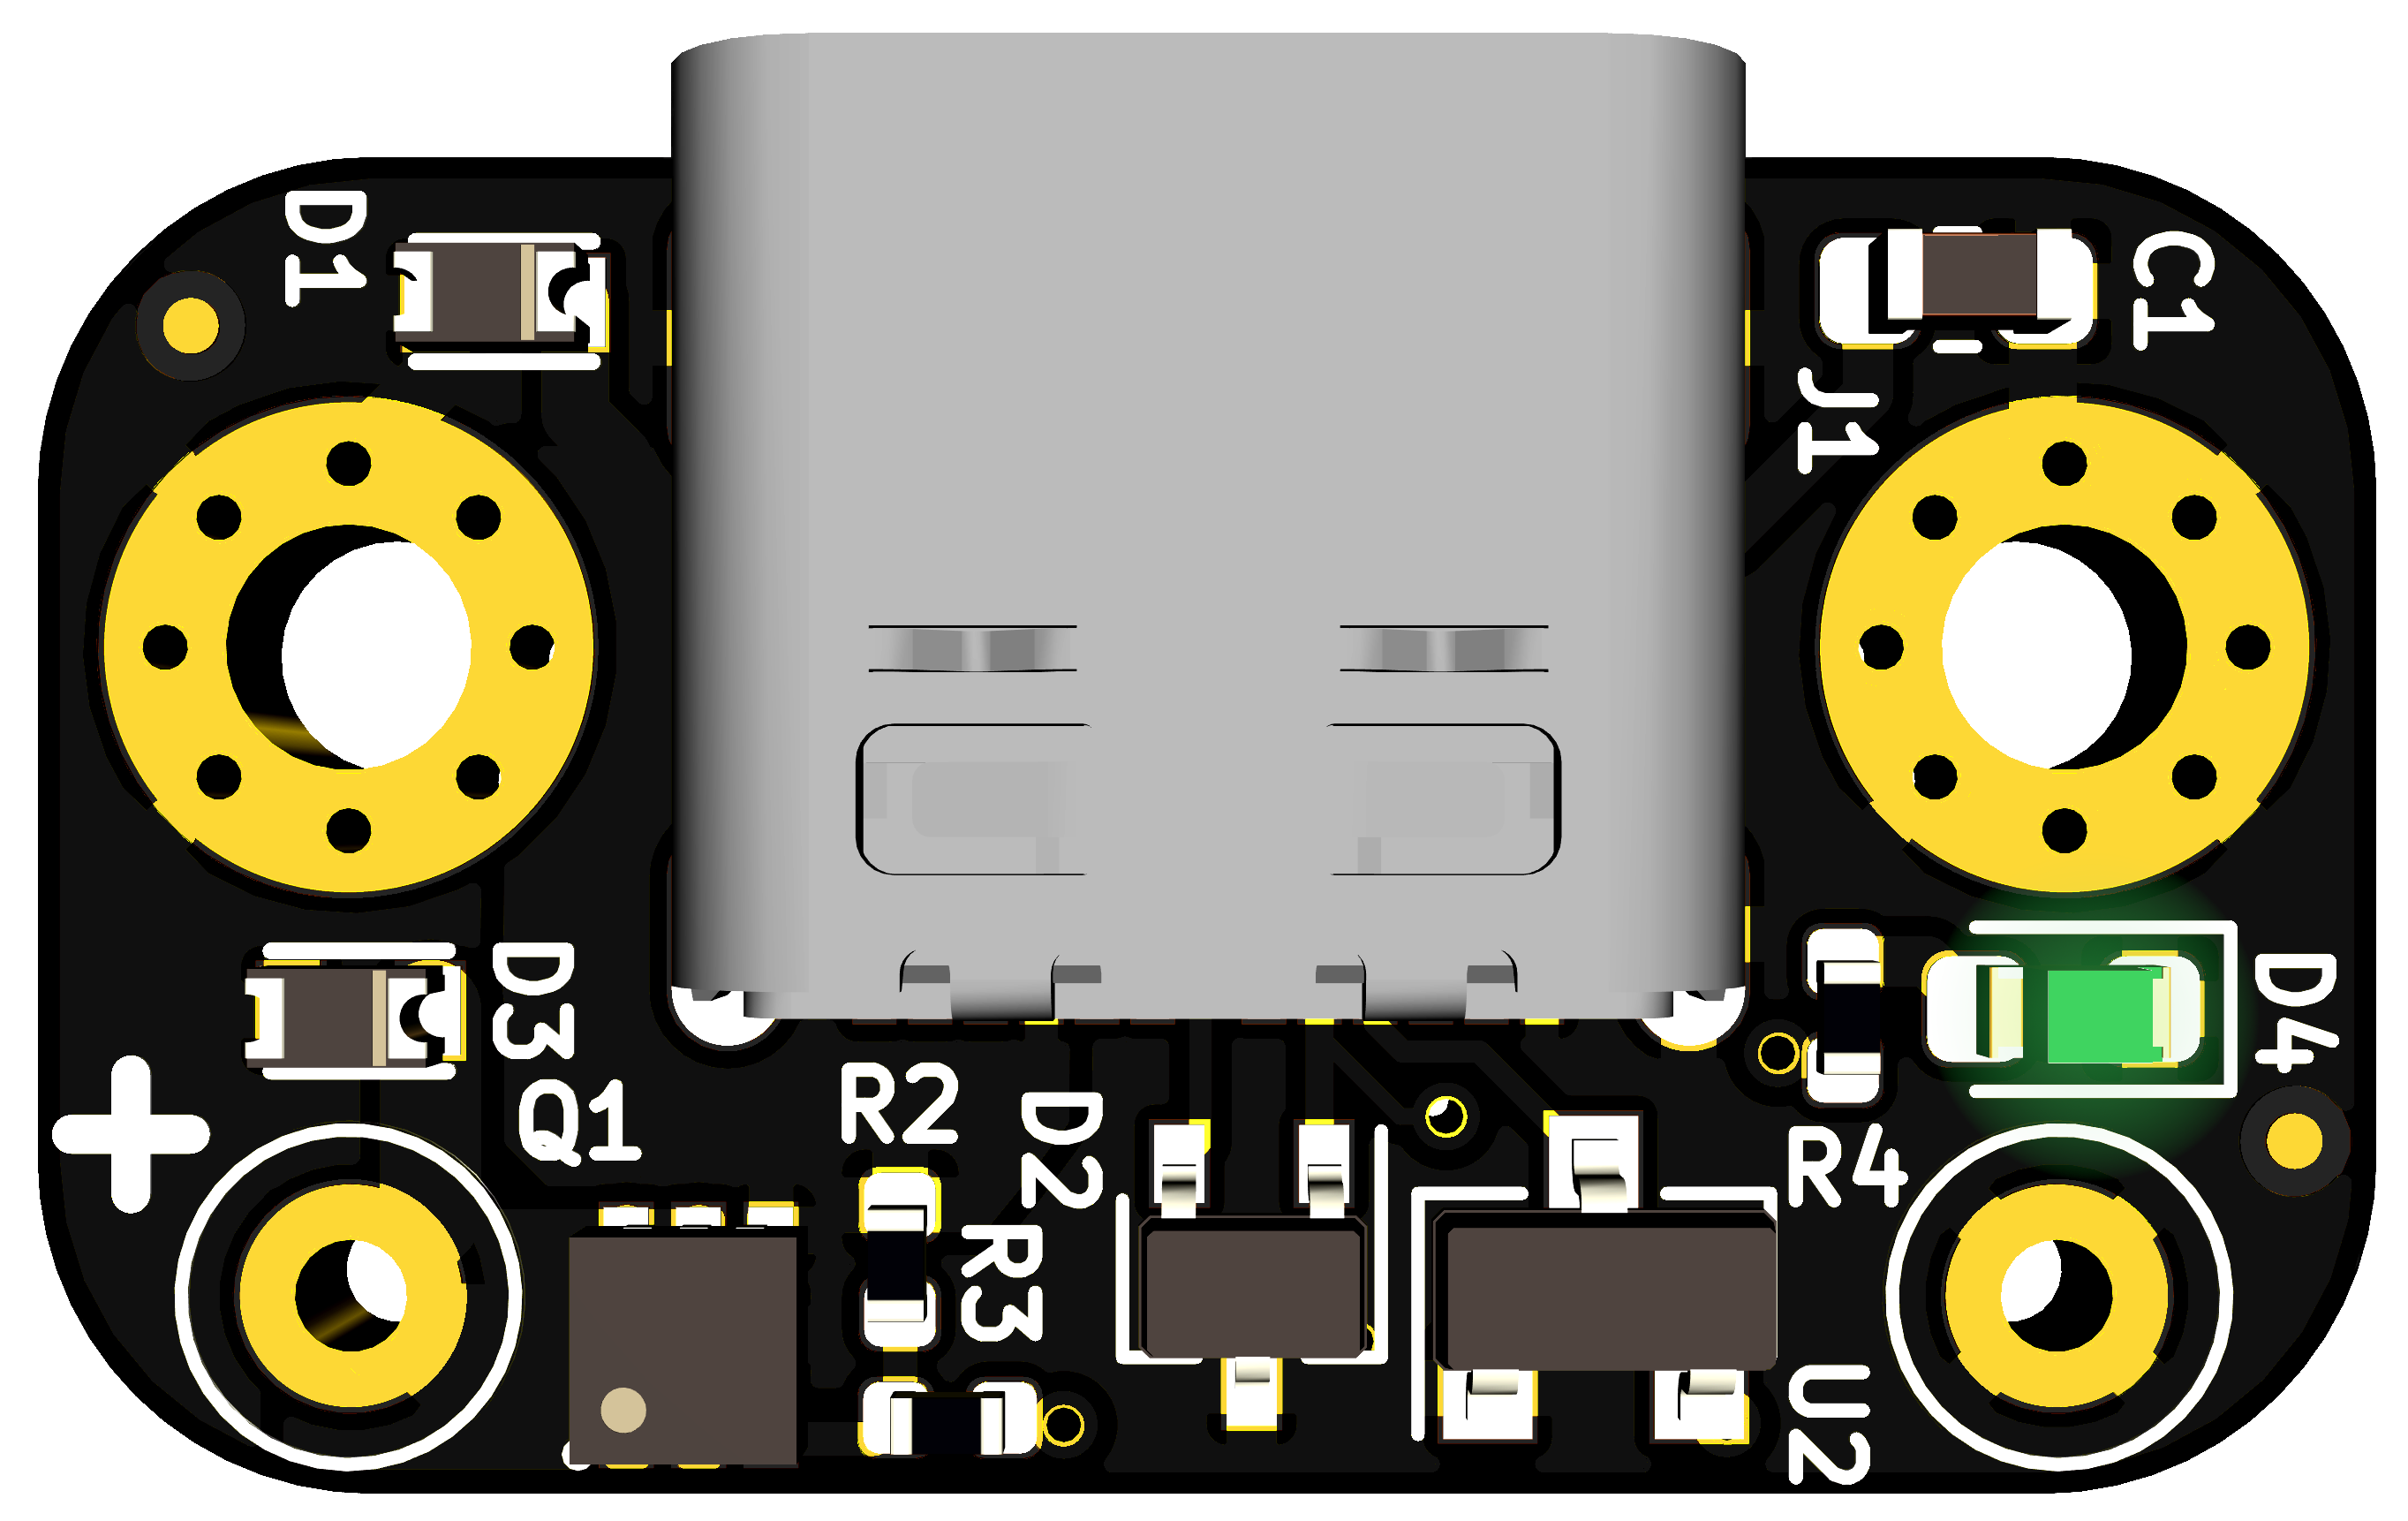
TL;DR tiny and easy to use USB-C
module to power everything; configure it anywhere, even
on your phone!
My
first attempt in using USB-C adapters as a power source was met with
great enthusiasm. It was just a breakout board for STUSB4500
autonomous USB-PD sink controller. It has since been picked up by Sparkfun
with a much better design (as you would expect).
Although sufficient, I wasn’t very happy with how much effort was needed
to program the chip. It required talking I2C which for me meant an
Arduino had to be available, connected to a computer with USB and a
whole bunch of jumper wires. I have since used Adafruit’s MCP2221A
breakout board and a Raspberry Pi but the process still has a lot of
friction. So, I set out to simplify the programming aspect of STUSB4500
and this post will take you through to what became fpx, a smaller and easily
configurable version of fabpide2.
This post is about a command line tool called pdftilecut which I wrote
a while ago that allows you to cut PDF pages into tiles in order to
print a large page on small form printers for instance.
A little background: for my wedding, we decided to make an art piece we
called “the portal”. It was basically a steam punk spaceship door with
an iris
window.
This thing took many weekends to get done and it was so much fun. Too
bad we didn’t have the space to keep it so we threw it away. It sat on
the background and every now and then would slowly open and show a
planet pass-by.
TL;DR My personal set of essential electronics tools that I use on
regular basis. This is the first post in a series.
I’ve been dabbling in electronics for 10 years. Naturally, my approach
to electronics has been influenced by my approach to life in general.
And my approach to life is that of a pragmalist (pragmatist minimalist).
In short, I thrive in striking a balance between practicality and fewer
possessions. This has led to a carefully selected set of tools, over
years of use and through many iterative refinements. The aim of this
post is to presgruide (half prescribe, half guide) a set of tools to
newcomers in the wonderful world of electronics, so they can get rock ‘n
rollin’. More experienced folks can also benefit by multigrading their
existing tools.
Safety
No such thing as a safe hobby exists. Even reading books can be
hazardous over time (think neck and eye strain). Therefore safety
equipment come first in order to maximize the longevity of your
enjoyment.
I don’t watch mainstream news but once in a while I come across some and
last
piece I encountered was actually thought-provoking. Some viewers of
a talk show hosting Denise Richards noticed she had enlarged thyroid
gland and let her know that she should see a Dr. In this case, she had
ignored the symptoms and looking at the photos, it’s quite obvious. But
what about more subtle visual presentations of health conditions?
Attentive doctors and specificalists may suspect or detect them watching
a talk show, but that’s too few eyeballs. What if computers did the
honors?
Google AI research has had years of
history developing machine learning
systems to detect various health conditions from medical imagery. I
believe they started with retina scans looking for early signs of
diabetes and more recently, they can detect skin conditions. Microsoft
sports a similar
history of research and publications. There is other
research around detecting genetic conditions from portrait photos in
combination with other data. I also remember some app which could detect
cataract in photos with flash on. I’m sure much more has been explored
in this area.
With the promise of ever improving machine learning in detecting
patterns in imagery, specifically relating to health conditions, there
are some interesting end-user product and service ideas that can
potentially be game changing.
For instance, Google Photos or iCloud can run a bunch of more ML on user
photos and videos and notify the user of neurological conditions, eye
and skin conditions, strokes, mental health conditions, etc. Similarly,
face unlock hardware such as those in iPhones and iPads could detect
such conditions everytime the user looks at their phone (which is much
more often than taking photos). And let’s not forget about the immense
amount of public imagery content such as YouTube. Google already does
copyright checks, transcription, thumbnail generation and a whole bunch
of other processing. Disease detection will take it to a whole new
level.
Apple has already invested quite a bit in health features of Apple
Watch. It makes a lot of sense to expand that further.
Of course there are social aspects that I’ve not mentioned. Privacy,
fake content, etc.