Powering Starlink on the go with Tesla Model 3
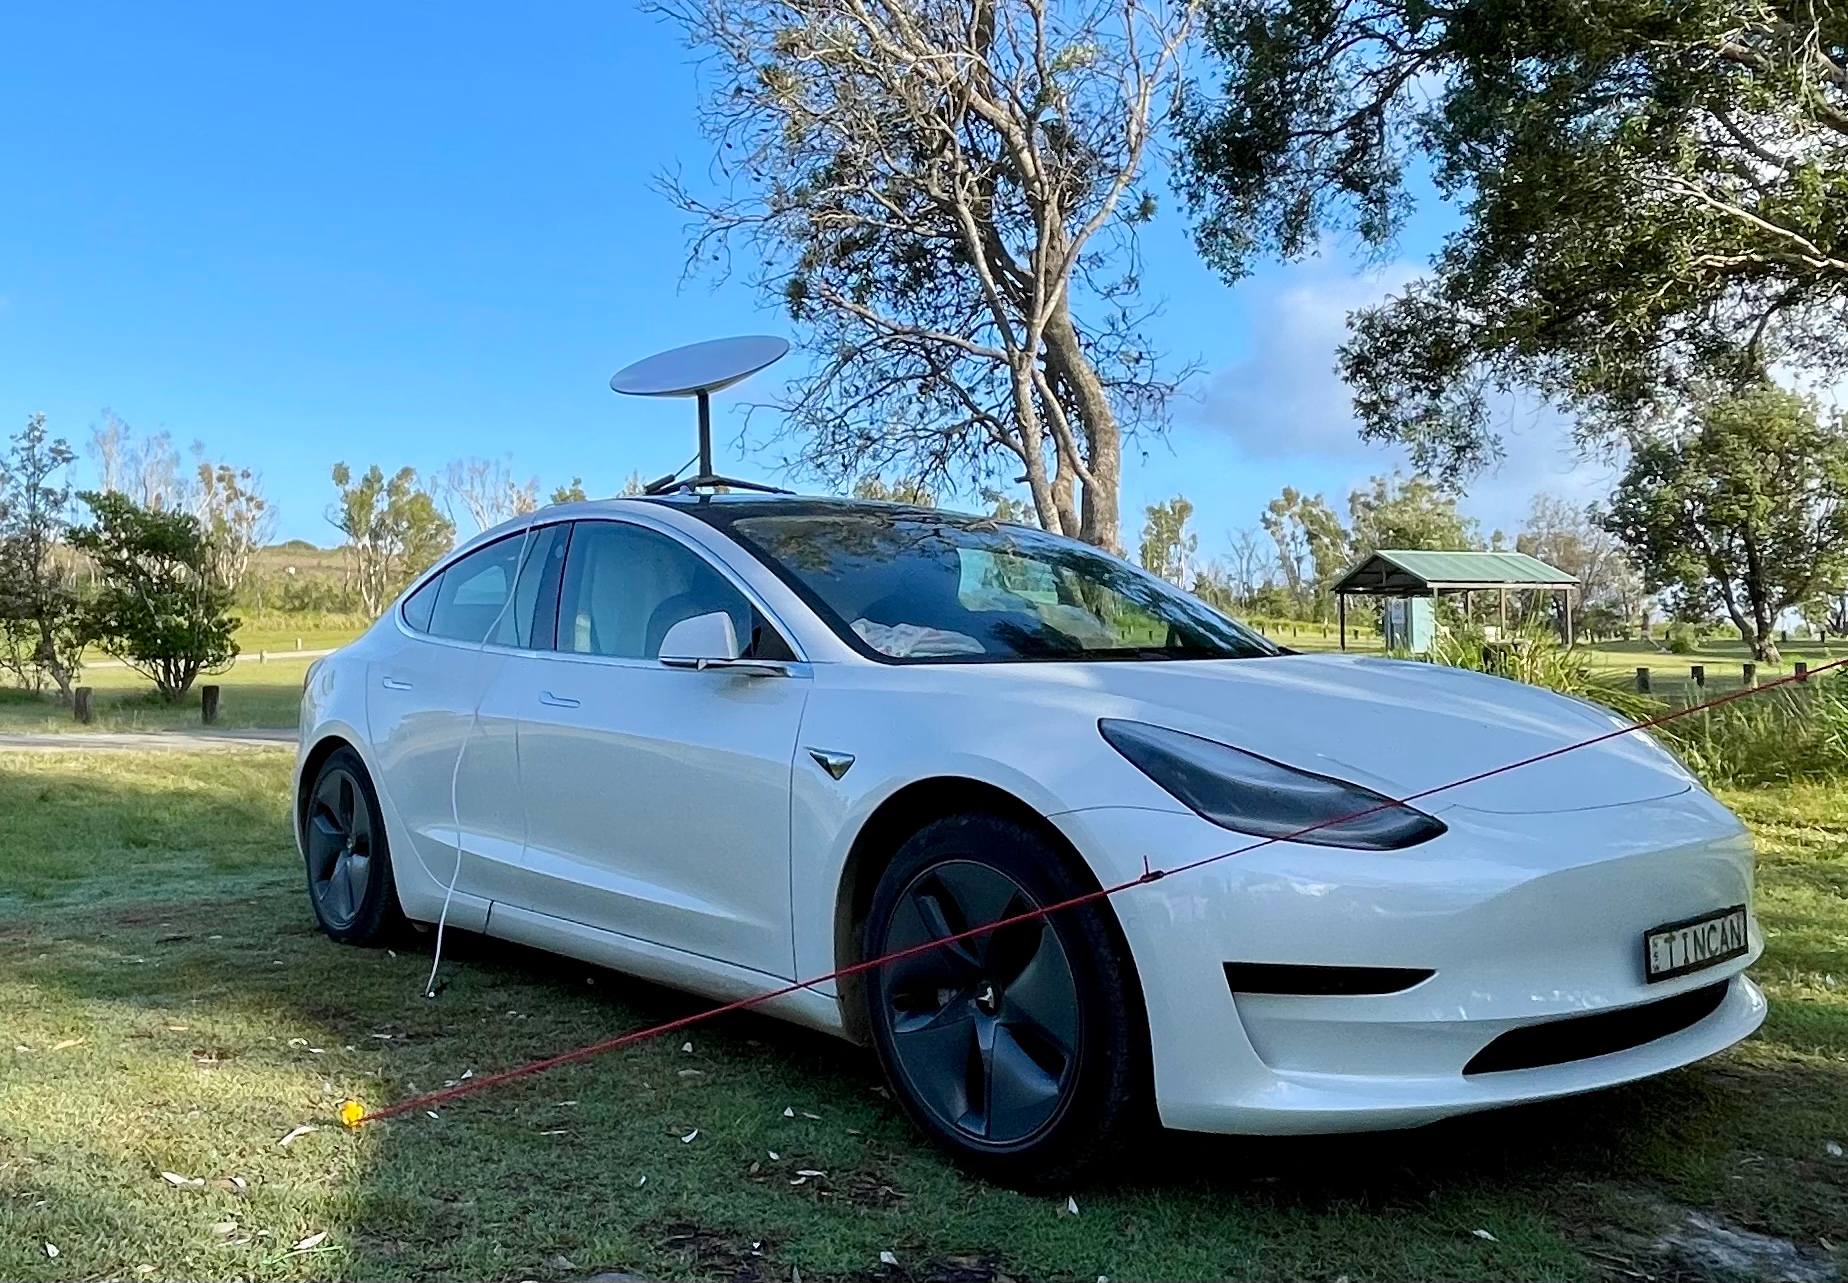
I’ve had my Tesla Model 3 for more than a year now. It has been an absolute pleasure so far and I would not trade it for anything else at any price including Tesla’s other offerings (yes, talking about S Plaid). Model 3 just has the most beautiful exterior of any other car. OK, let’s stop here because I can go on forever. But not without a photo of Tin Can:
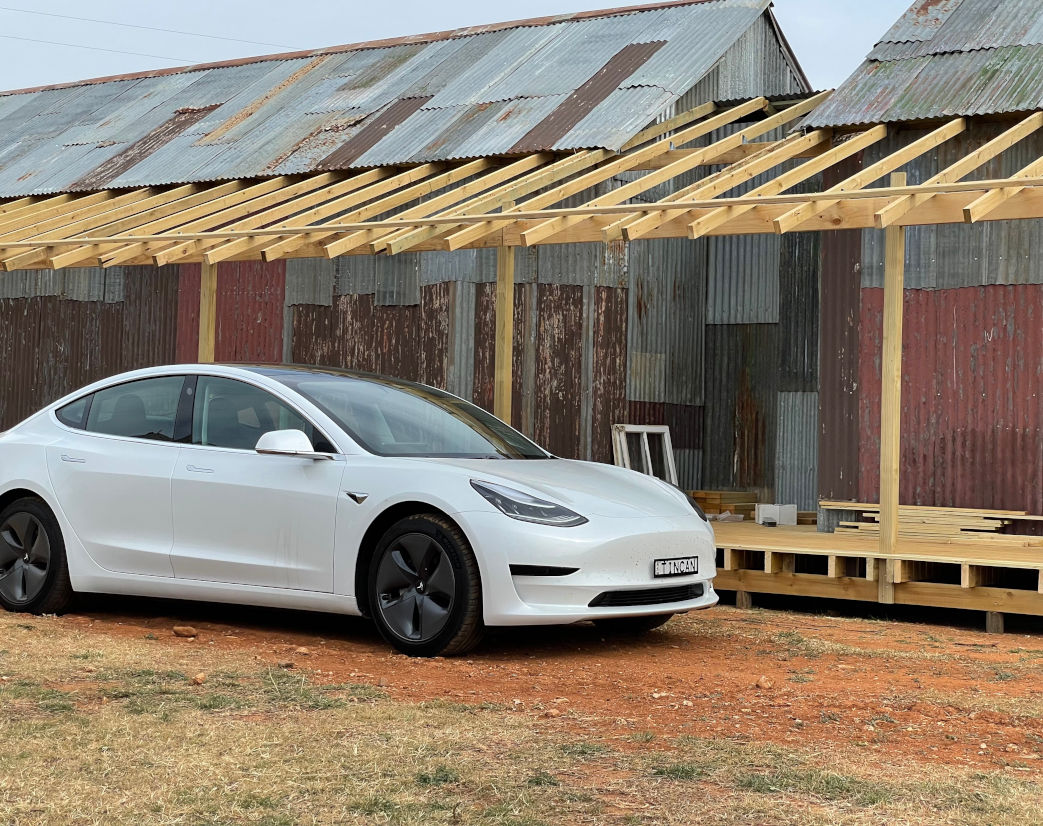
“Tin Can” is a reference to Major Tom’s spaceship.
I live in the city and have a fixed broadband and 5G around but being the tech head that I am, I had to sign up for a Starlink service. I actually thought of uses, mostly for when traveling. I put down my deposit in February and received my dish two month ago. I knew when I signed up that I would need to make it work with my car and while I waited, I crunched some numbers, with the assurance that should I determine it won’t be feasible to run Starlink from the car, I can simply cancel my order.
Model 3 can output 12A continuously on its accessory outlet (aka cigarette lighter port). With a nominal voltage of 12.7V, that’s 150W of continuous power, or 140W when taking into account the regulation losses when stepped up to 56V needed by Starlink. Starlink’s own power supply has a total maximum output of 180W. That doesn’t look too good until one digs a bit deeper through forums and learns that Starlink’s user terminal, called Dishy McFaltface, generates heat either as a result of higher transmit power, or specicially to deal with cold weather and snow. That’s where half of that 180W seems to go into. As luck has it, I live in a warm climate so it’s unlikely that mine would consume as much power. It’s also worth noting that with each firmware update, the dish’es consumption seems to drop ever futher down (40W reported by some users as of late).
TL;DR we need 90W of continuous power to run Dishy and have 140W available from the car.
Power consumption isn’t an issue because a base Model 3 has a 57KWh battery. Half of this capacity, taking into account a generous 20% in conversion losses and car’s own usage, can continuously power Dishy for 10 days. Unless I’m stranded somewhere, I’m most likely to charge the car at least once a week.
With the math out of the way, I had to figure out how to power Dishy from the car. First step was to get a DC-DC regulator that could take the 12.7V of the car and step it up to 56V at 2.5A (to cover the max the car can offer). The only product I found with a more than reasonable price was made by a Shenzhen based company called Daygreen Technology.
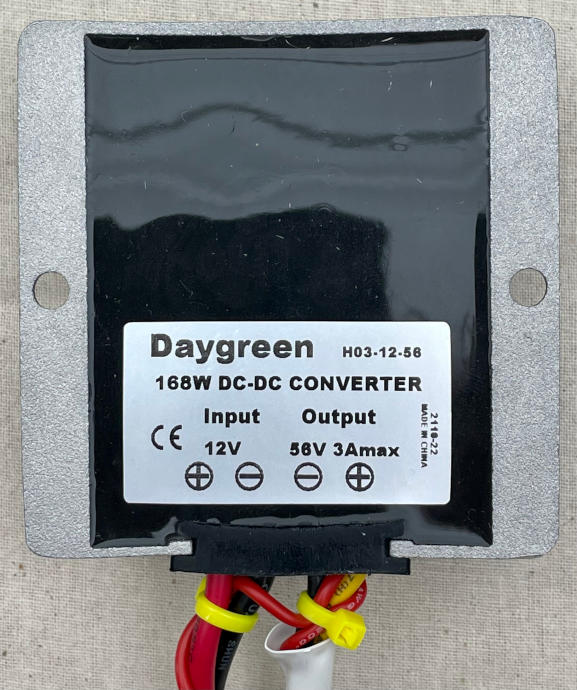
I put the regulator to some test, running it at its maximum rated output current for an hour and it held up quite well, only getting 18 degrees warmer, and running at a respectable 95% efficiency.
For the next part, it’s important to know that the Starlink’s stock power supply is a Power over Ethernet (PoE) injector with two ports, one which connects to the dish, and the other to the supplied Wireless router. That’s good and bad. Good in that it uses PoE standard and bad in that it’s running 180W over it!
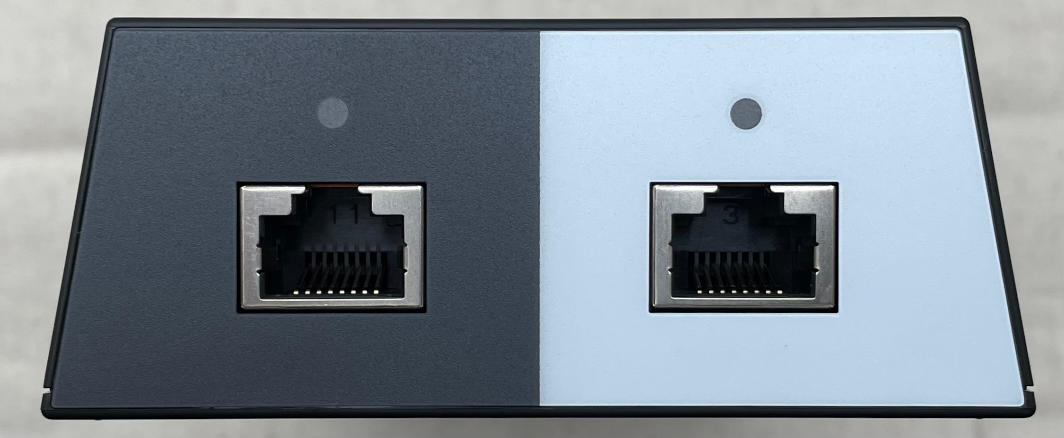
Setting up Starlink was the easiest Internet setup I have ever done. Everything was plugged in out of the box. It just needed to be plugged into the power!
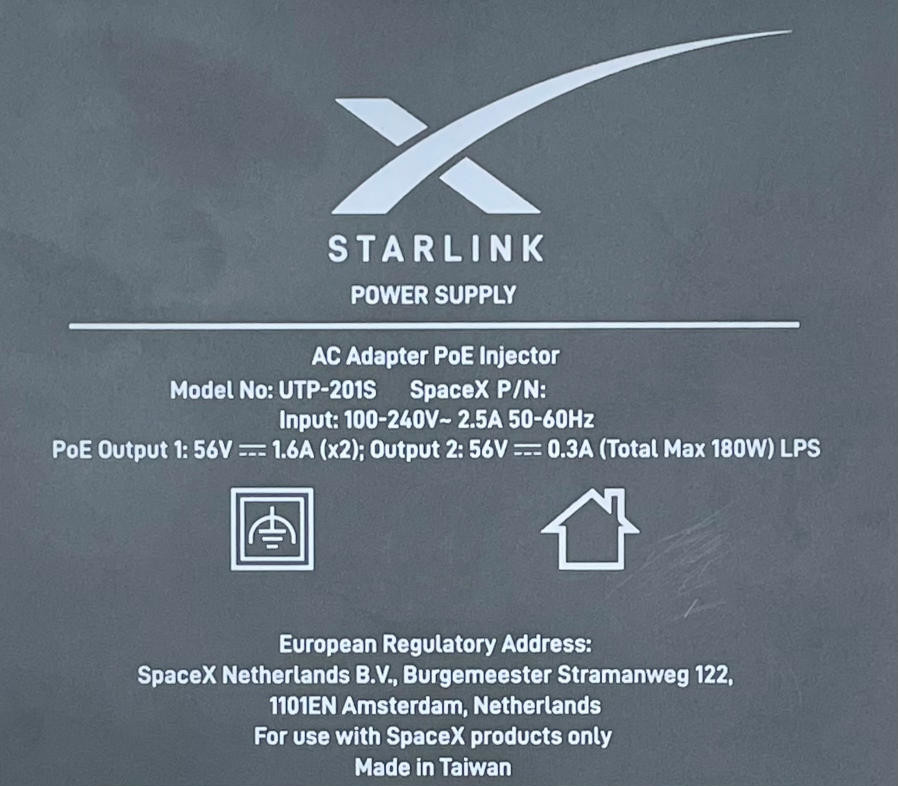
The highest power commercial product that didn’t cost as much as the entire Starlink terminal itself, was rated at 90W. Given the pricing and lack of confidence whether anything else would be able to power this beast, I decided to purchase a spare Starlink power supply for $120 AUD and try to re-use the low voltage part of the original one, Frankenstein style!
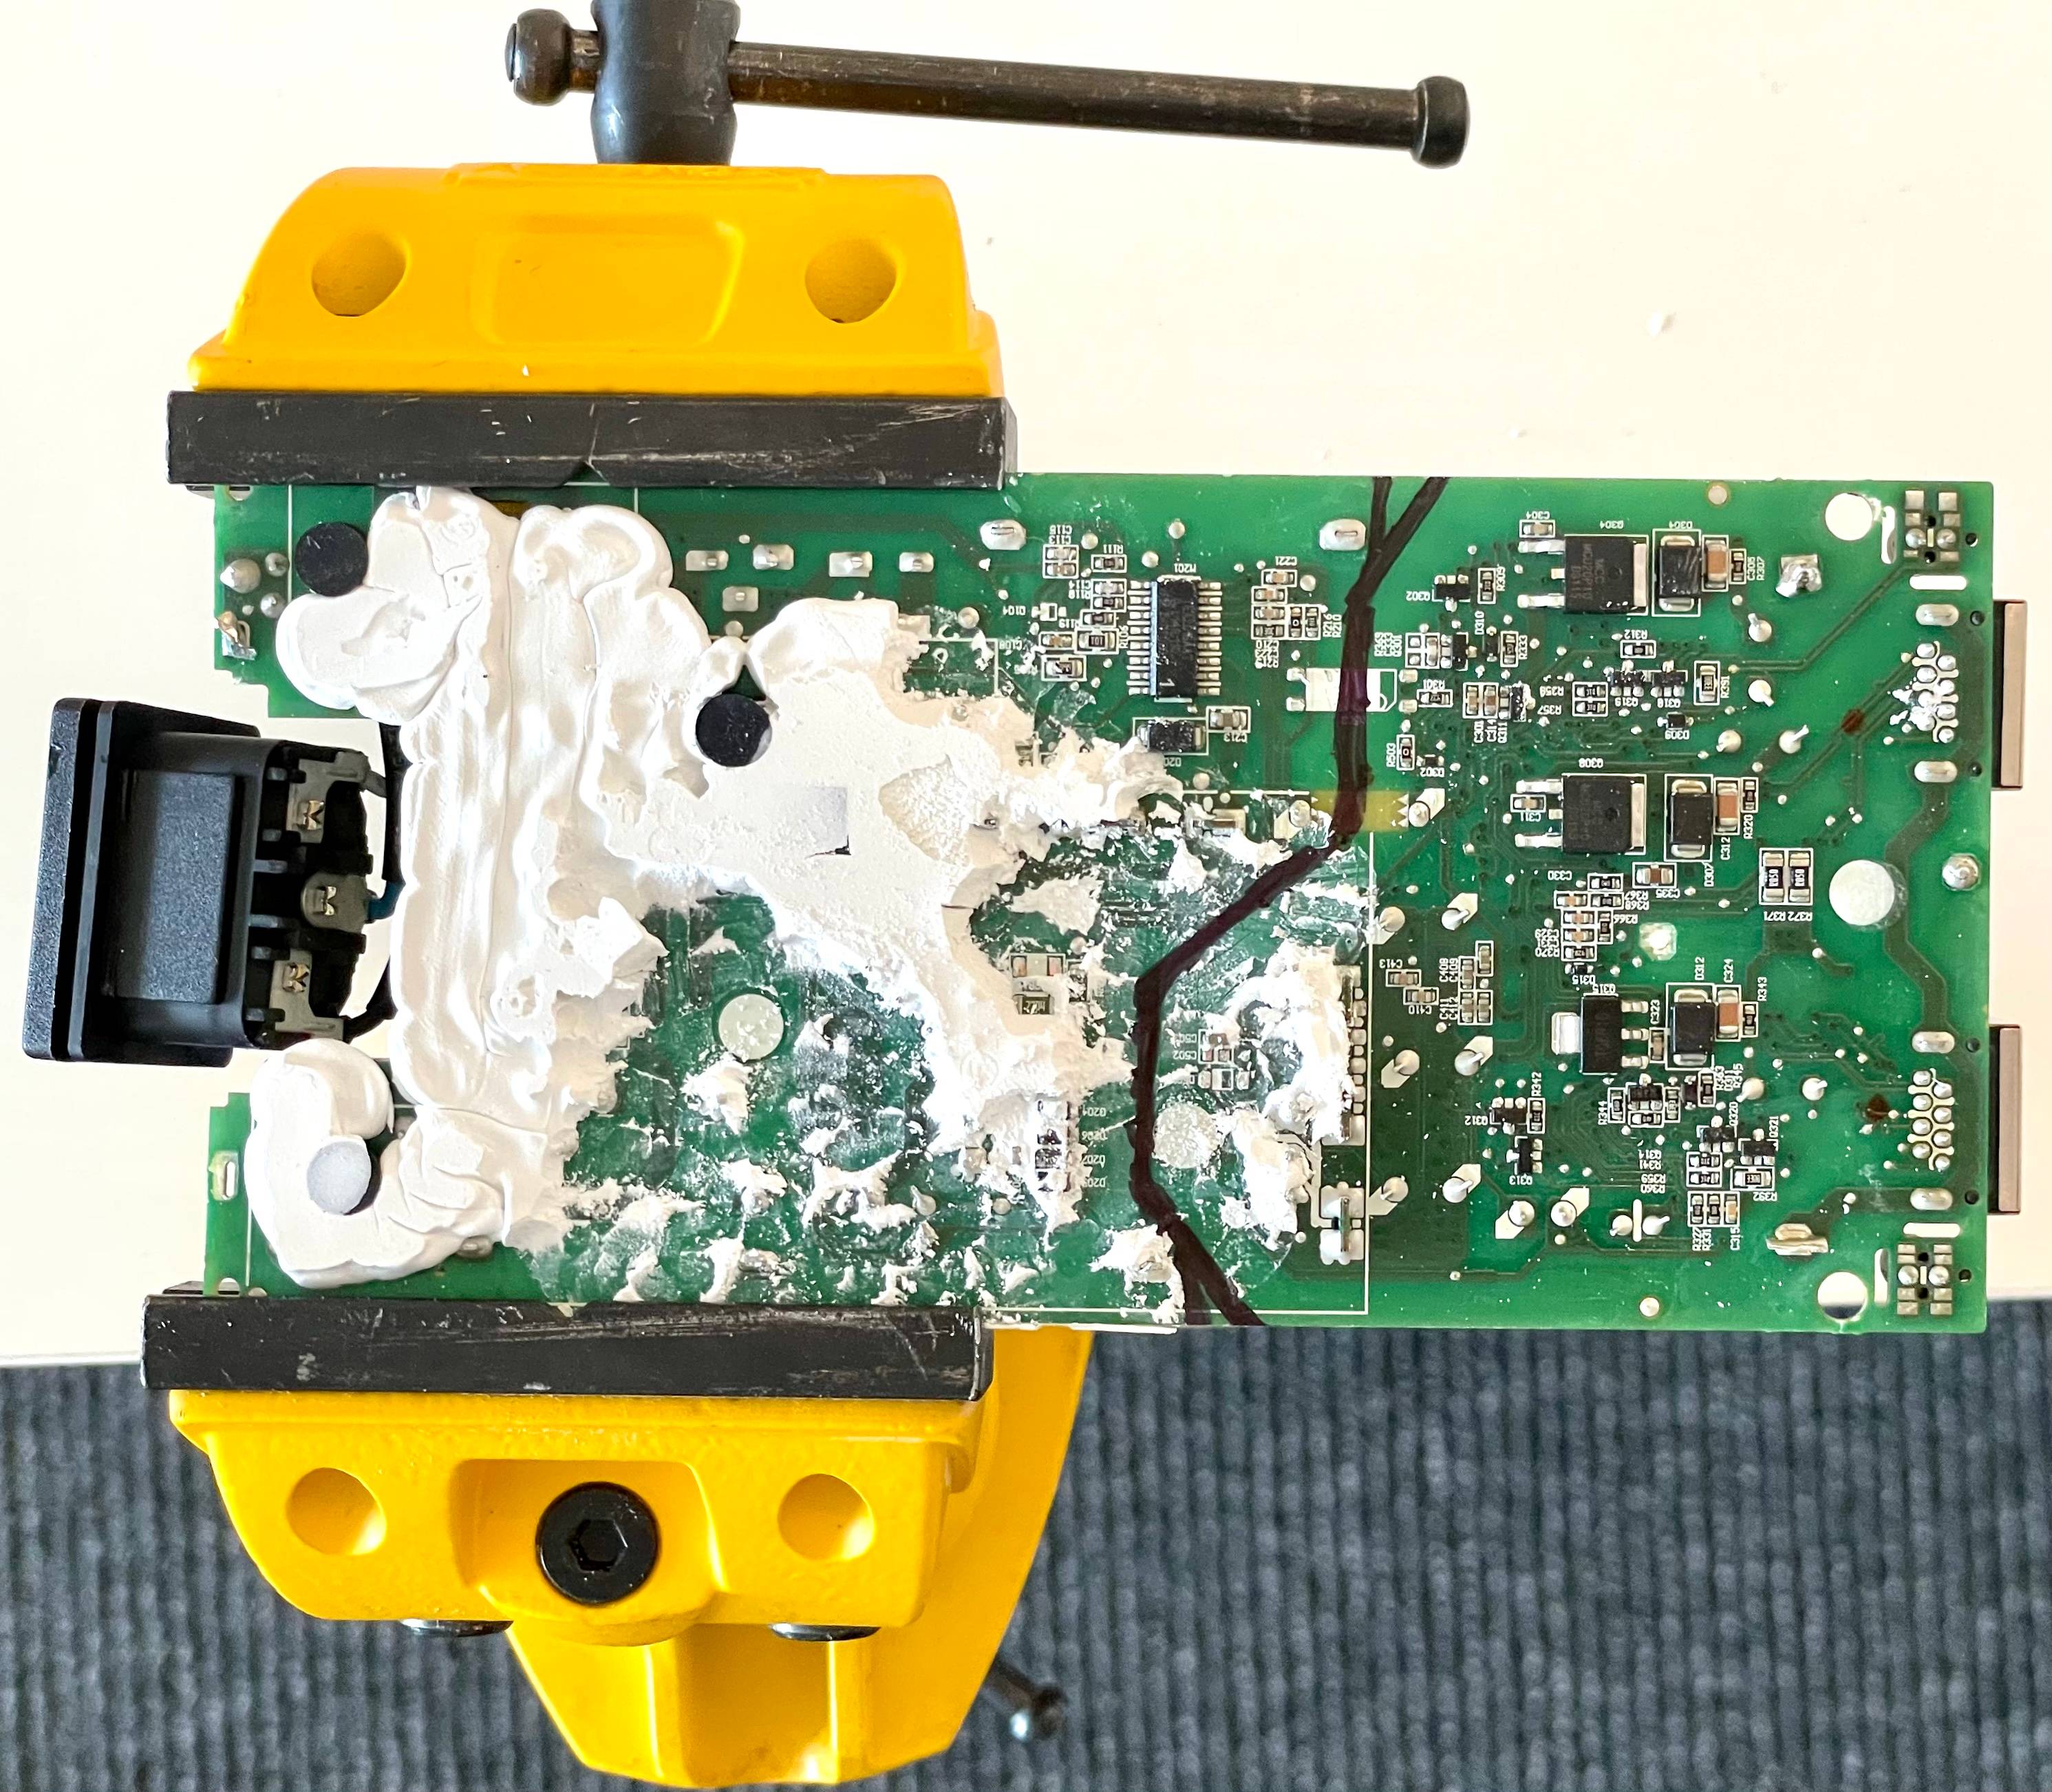
Word of warning: as with any other mains powered board, there can be capacitors charged at dangerously high voltages even when unplugged. An accidental touch can lead to death! Do NOT attempt this if you don’t know how to stay safe.
Above picture is the back side of Starlink’s power supply PCB with the black lines, marking where I would run my Dremel across, in order to cut the PCB into two halves: the high voltage side to the left, which I’d discard, and the low voltage side, which I would hook up to the DC-DC regulator.
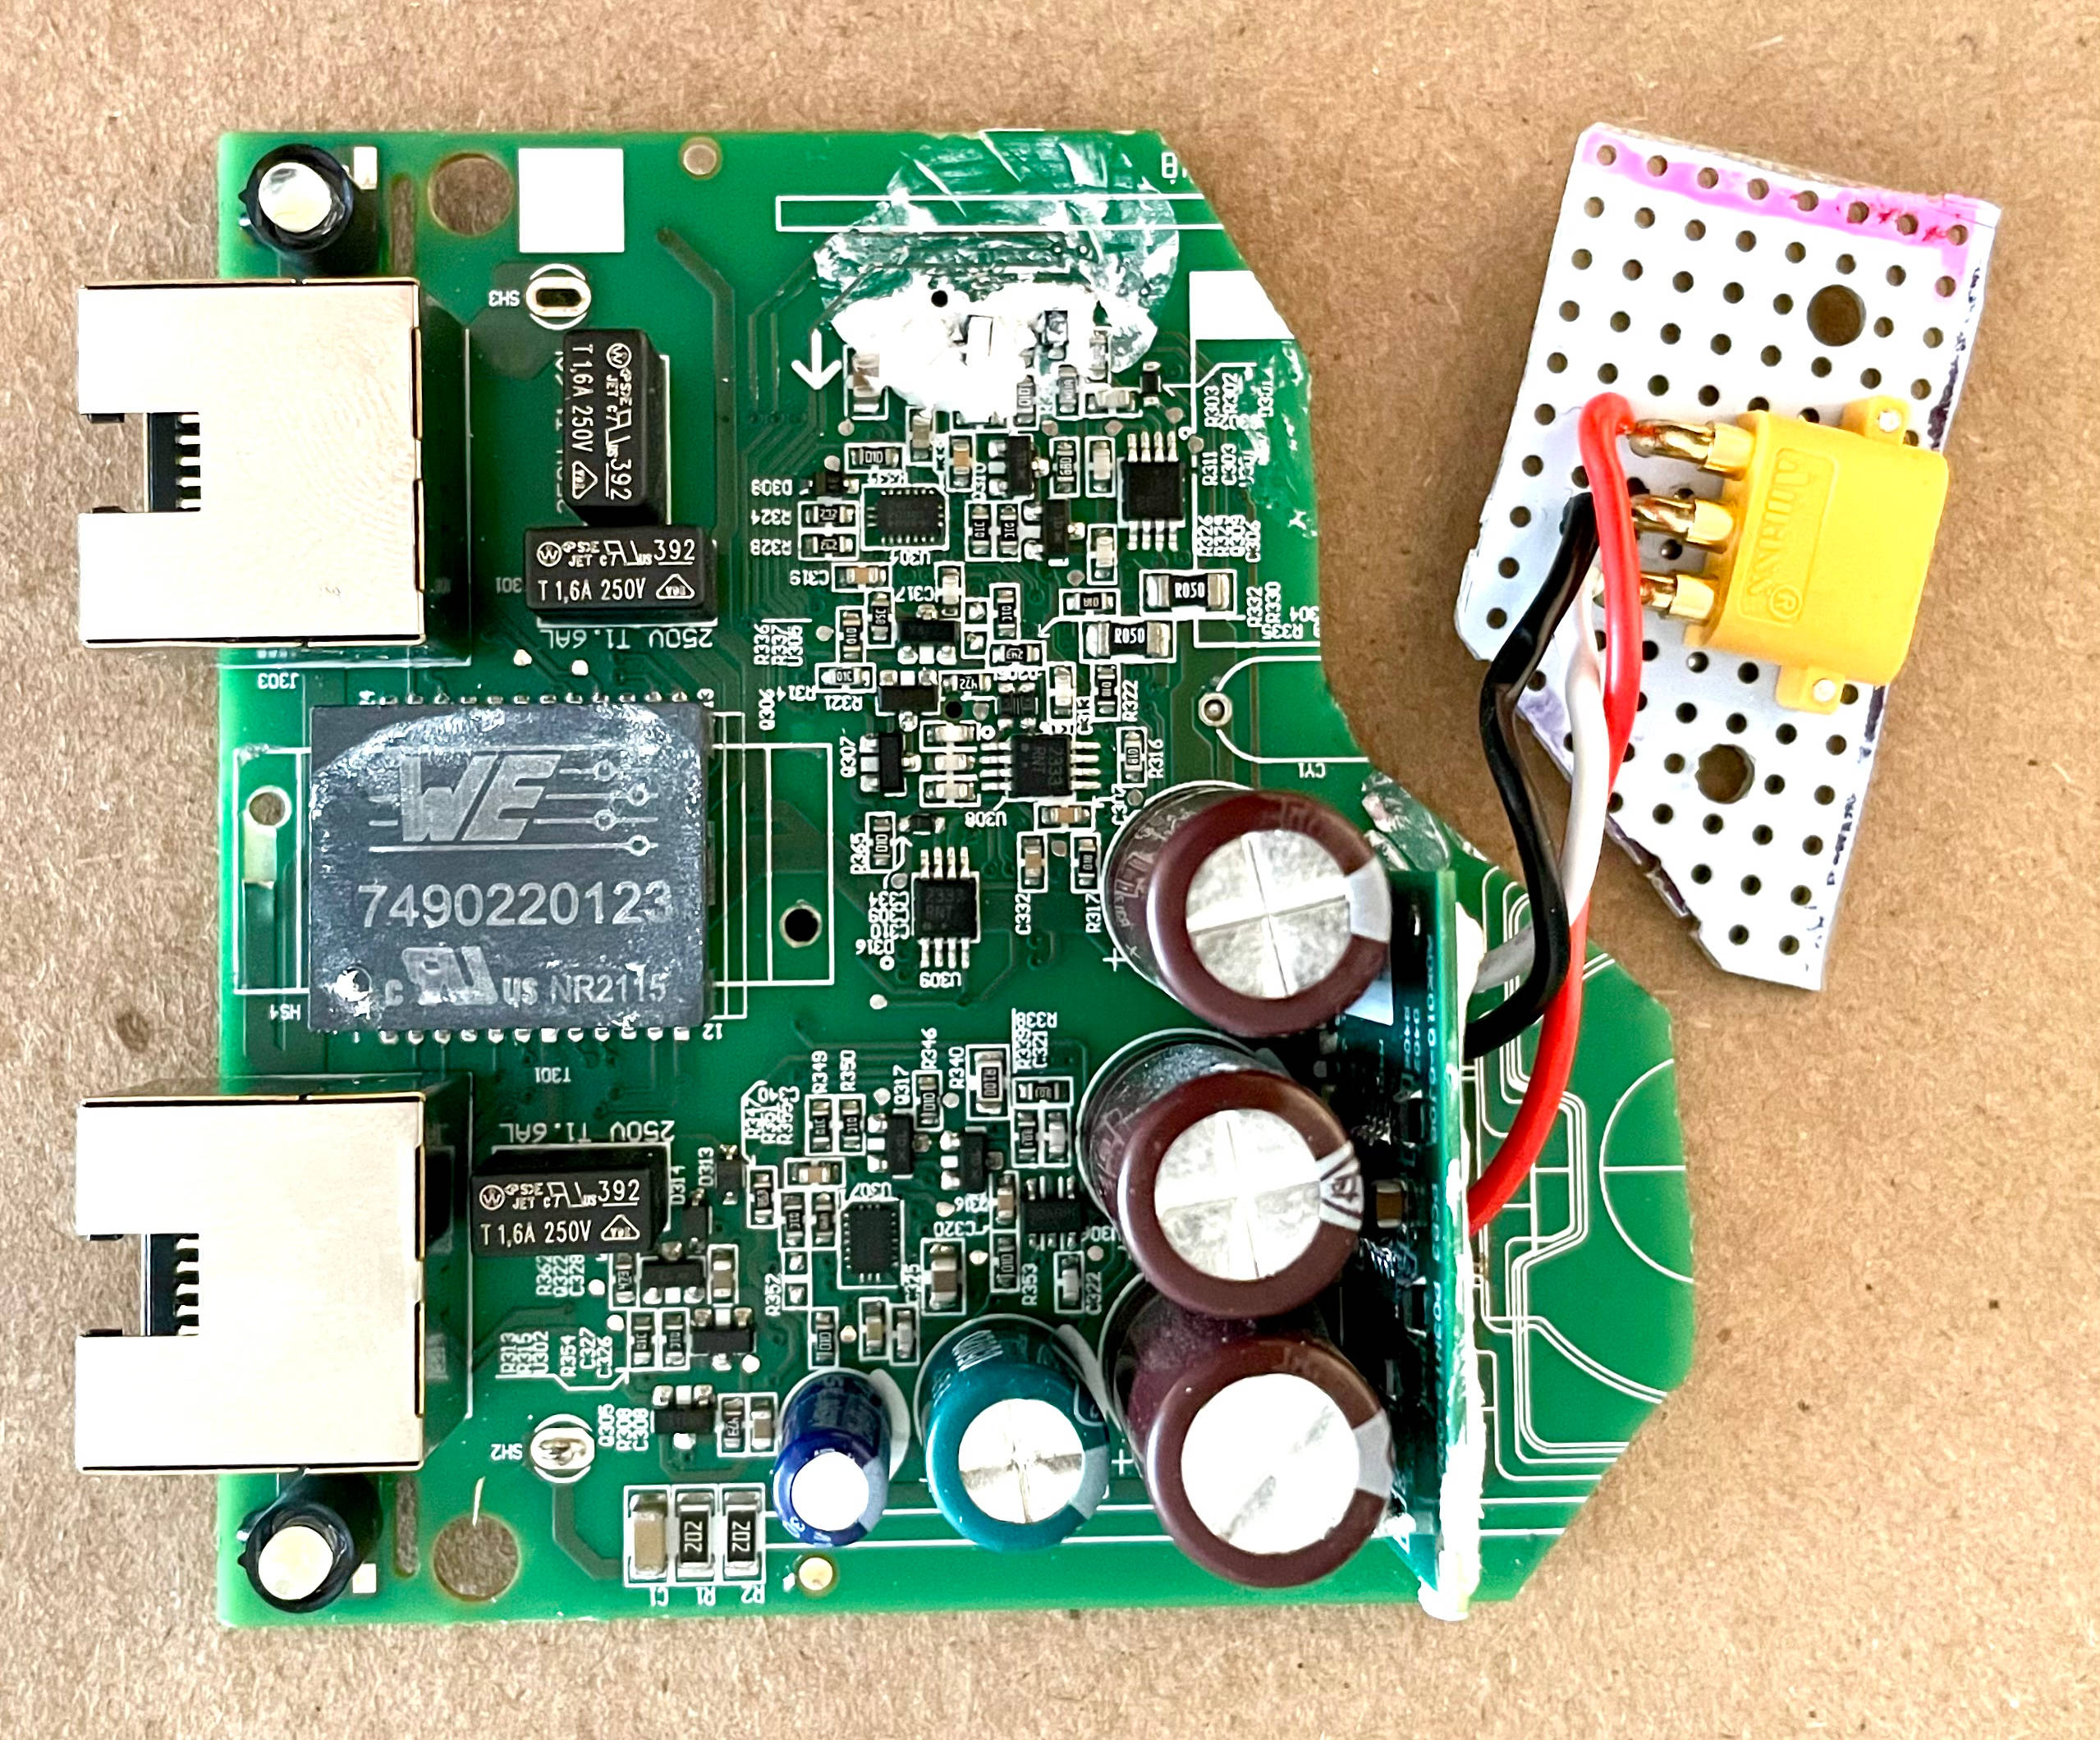
It went surprisingly smooth and I managed to do a test run, powering the dish with 56V applied to the board. Turns out, the low voltage board needs a second supply under 20V to run the chips which the 12V from the car conveniently covers.
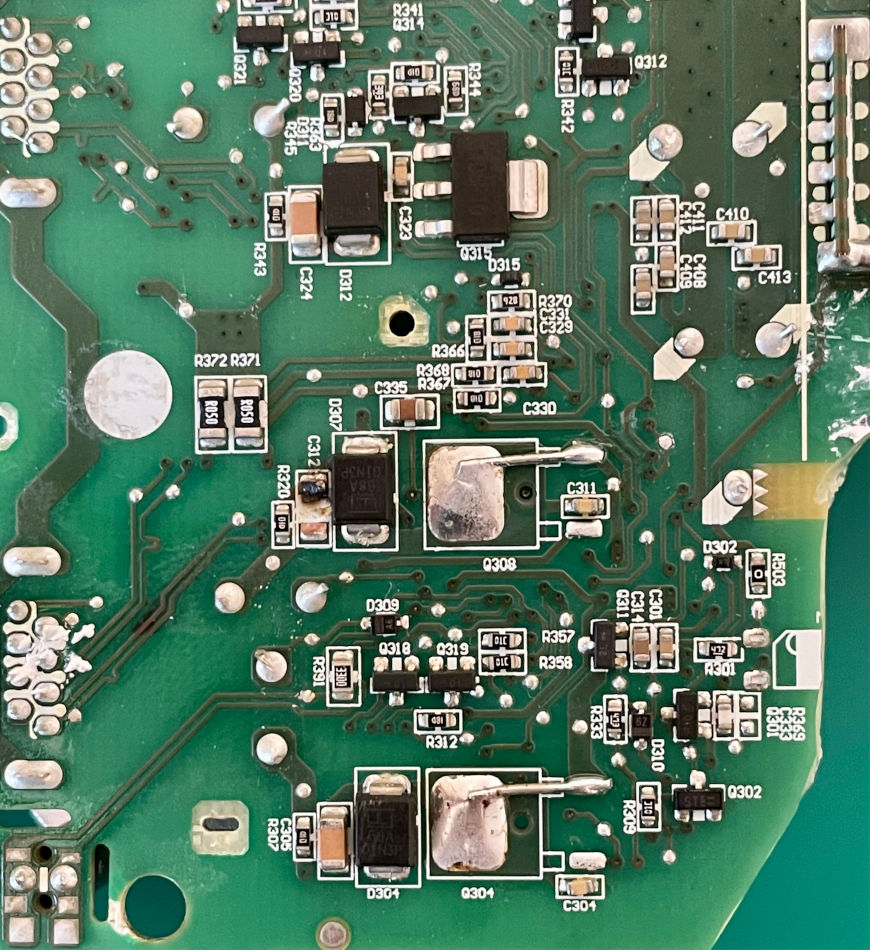
While testing, I managed to short the output of one of the power FETs. That destroyed the FET and blew the capacitor next to it. After a bit of consideration, I decided to remove the FETs and short their input and output. The only reason for having the FETs is to protect devices that don’t understand PoE. In my case, I will only be using this to power Dishy. No FET means no heat and less energy loss too!
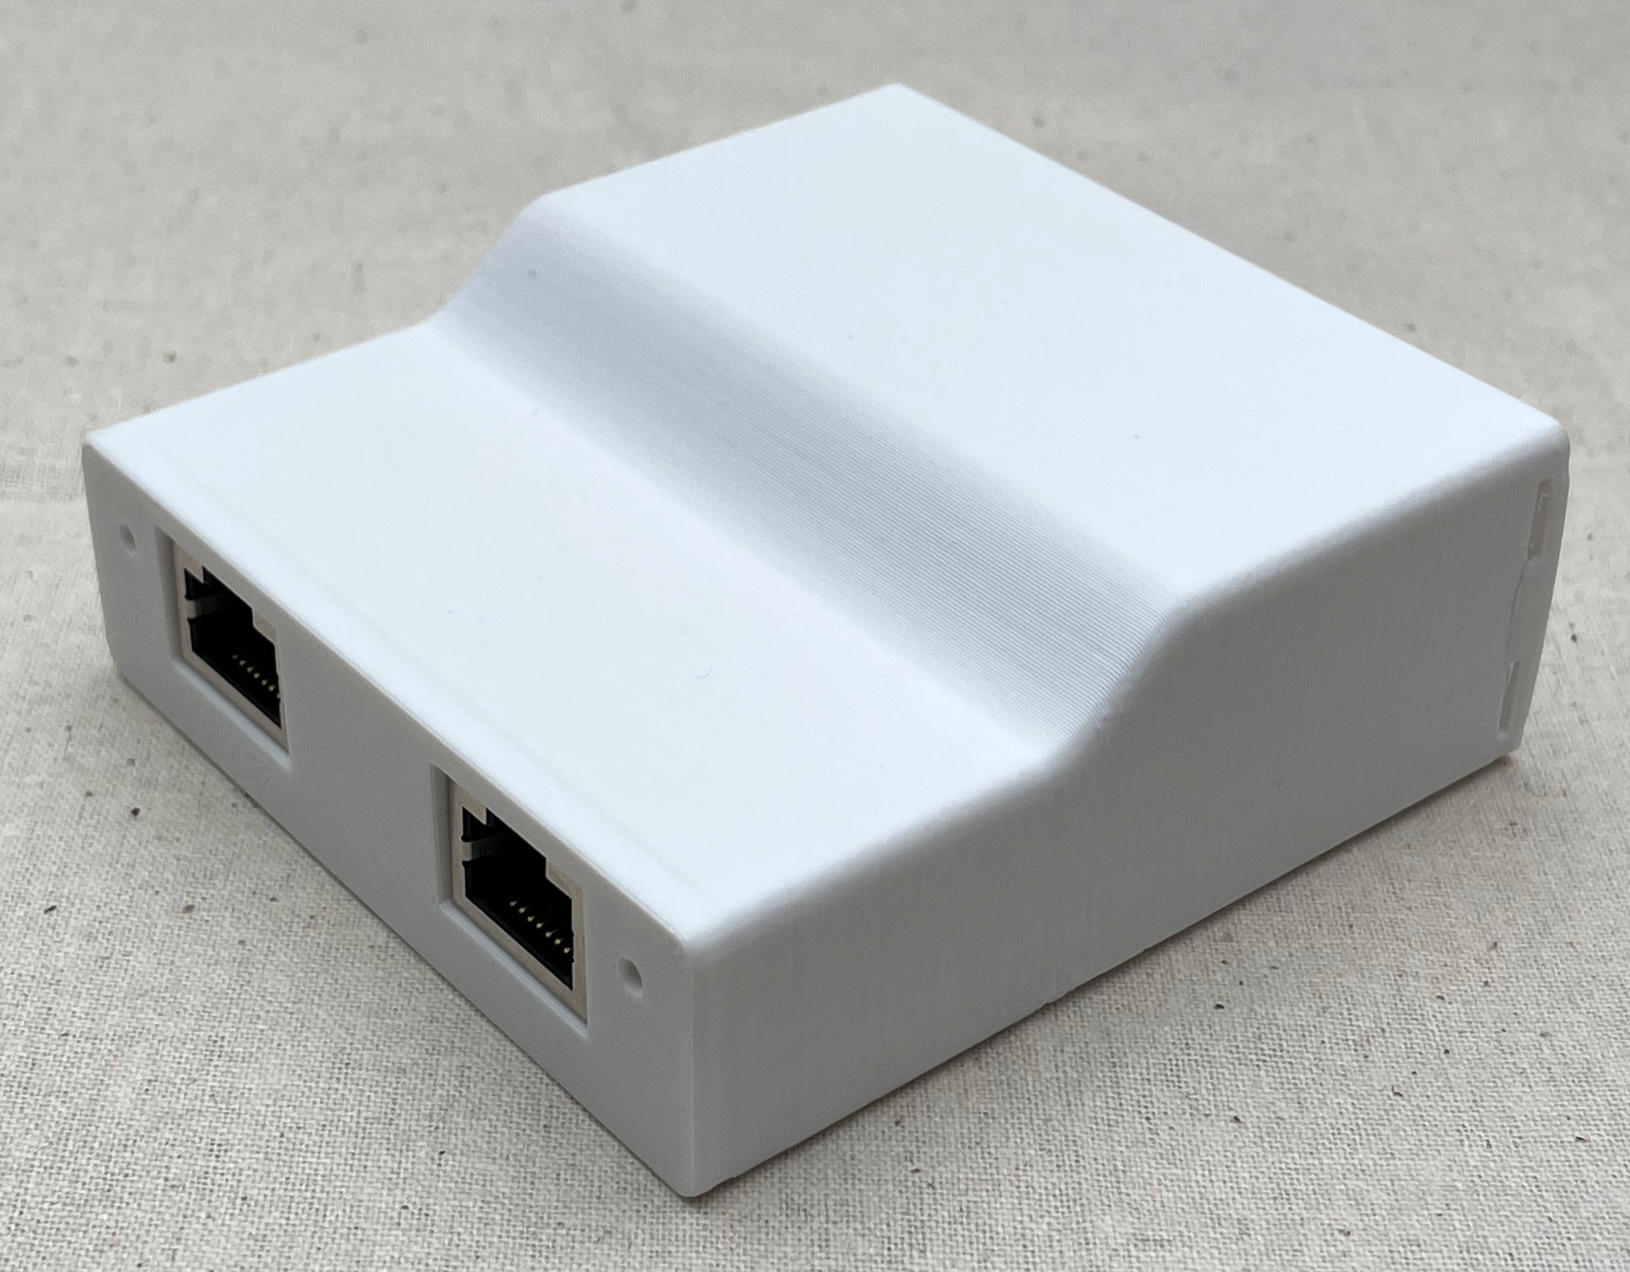
A 3D printed case and some wiring later, led me to a half decent setup from the car’s outlet to the dish.
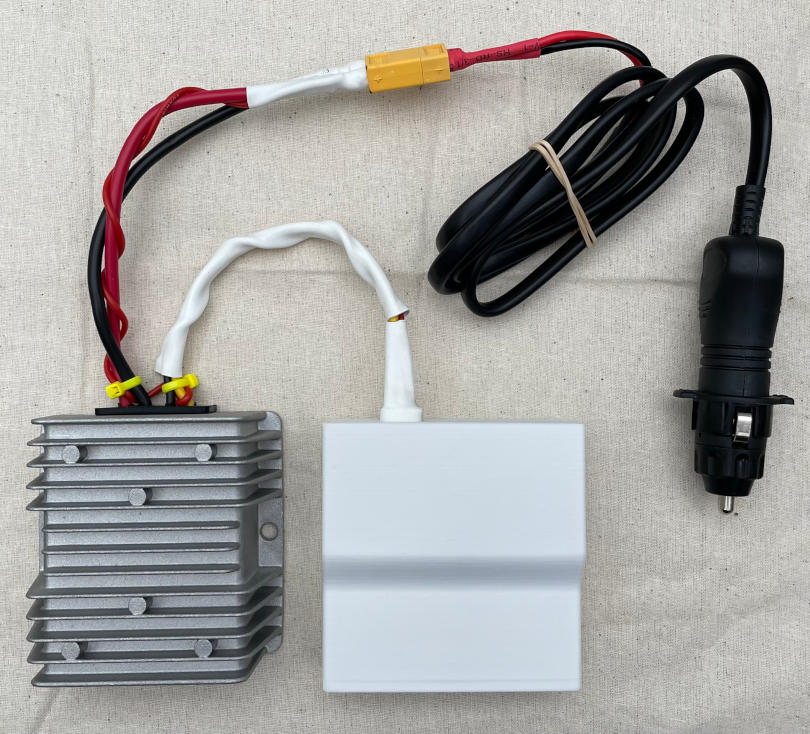
Oh, and one more thing. Dishy comes with a rather long cable that’s not detachable. The long cable makes sense for the main use case of permanent installation in a house environment. Not so much when you want to carry it around. So I cut the cable close to the dish, patched the end with an Ethernet plug and bought a weather sealed joiner to maintain the weatherproofness of the original cable.
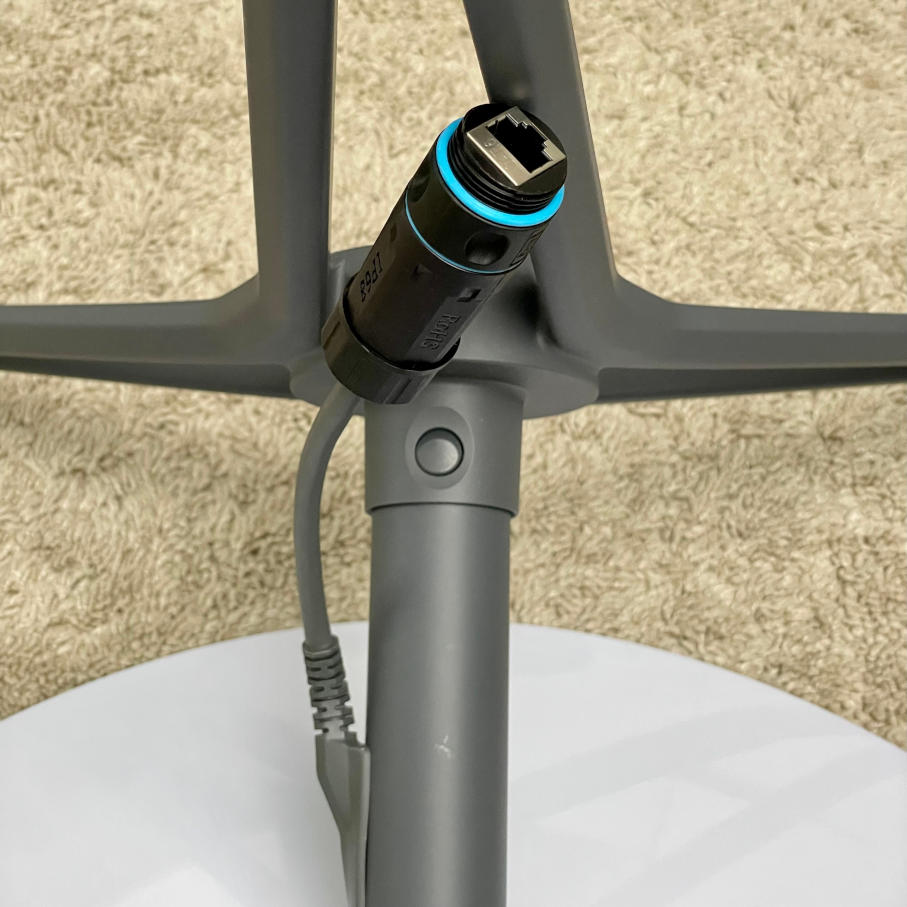
I recently went on a trip a few hundred KMs away from home and put the setup to the test. It worked flawlessly, but it did take a while for the outages to drop to a usable state. This is well documented and expected at the beta stage of the service.
On my second trip, the dish booted up in a minute or so and was up at full speed with almost no interruptions right off the bat in every new location.
A few final notes:
- Tesla Model 3 has auto-resetting eFuses. Thus if any part of the setup goes crazy and pulls too much power, it won’t damage the car or cost anything in fuse replacements (makes you wonder why other manufacturers don’t put eFuses — hint: they make a lot of cash from service and parts).
- The supplied WiFi router isn’t necessary for Internet access. The dish answers to DHCP requests, and while the satellite link is up, it will assign a public IP to your machine. In other words, you can use your own router or connect your computer directly to the PSU.
- You don’t need the app to stow the dish. Just power it up and hold the pole horizontal to the ground. Wait a minute or two. The dish will rotate and fold up at which point, you unplug it to keep it that way.
- You don’t need the app to see various statistics about the service and the dish. Dishy’s APIs have been reversed and there are plenty of projects that let you extract and visualize the stats:
- As of this writing, you specify a service address when signing up. This address is where you are guaranteed service. Outside of it, the priority will be given to those whose service addresses are located there. However, if there is capacity available, you can get Internet access outside of your service address. You are also allowed to change your service address, noting that you may not be able to change it back if the original location is at capacity (I’ve never encountered this limitation, even in middle of Sydney). Elon has said that Starlink terminals will officially work on the go once enough satellites are launched. EDIT: you can now pay extra for roaming access without having to change your service address.
- You cannot pause the service. If, like me, you only use the service once in a while, you need to keep paying for it monthly. If you cancel your service, you will have to wait for it to re-establish as if you were signing up for the first time. That could mean many months! EDIT: not officially, but I have been able to cancel and reinstate my service. Reinstating took a support request and was completed in less than a day.
- If you have a second generation rectangular dish, nothing in this post applies to you unfortunately. The newer version has a custom port on the dish and the router, and most likely has many other differences as well.
- A Starlink dish is made up of 1500 tiny antennas making up what’s called a phased array antenna. Instead of physically pointing the dish towards a moving satellite overhead, a phased array antenna steers the beam electronically by sending the same signal on the antennas but slightly out of phase from one another, building a pattern of constructive interference. This allows for super fast beam steering as needed to track super fast moving satellites overhead. Satellites are moving fast because they are in a low orbit around the Earth, unlike the usual communication satellites which orbit at about 100 times the distance. The lower orbit enables lower latency and a large constellation of them enables much higher bandwidth capacity.
- The attentive amongst you may have wondered why I didn’t simply use
an inverter along with the original PSU and be done with it. Few
reasons:
- High voltages inside the car is not the best idea, especially when most inverters I can find look super dodgy and made by questionable companies. Having researched for days, I could not bring myself to buy any of them.
- Almost all inverters at the power capacity I needed have a fan and 9 out of 10 reviews mention noisy inverter fans. No thanks.
- I simply do not have the skills or equipment to test an inverter to ensure its output is safe and clean and that it can sustain the necessary power output.
- In summary, I feel much more comfortable dealing with lower voltages.